Visualization Settings
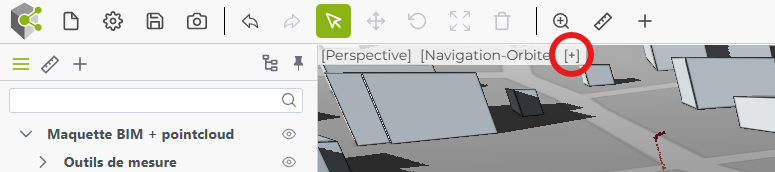
The 3D View Settings window allows you to customize the scene display for better readability and an optimal user experience. You can access this window by clicking on the "+" button located at the top left of the 3D rendering area.
Available Settings
The settings available in this window are organized into several sections:
General
Show Compass: Displays a compass in the 3D scene to help orient yourself relative to the cardinal directions.
Show Object Names: Overlays each object in the scene with a label displaying its name, making it easier to identify visually.
Background Color: Allows you to toggle between a white or dark background for the 3D scene, depending on your visual comfort preferences.
Show Light Controls: Opens a dialog box to adjust lighting settings in the scene, allowing you to modify the ambient light and shadows. This is particularly useful on textured meshes.
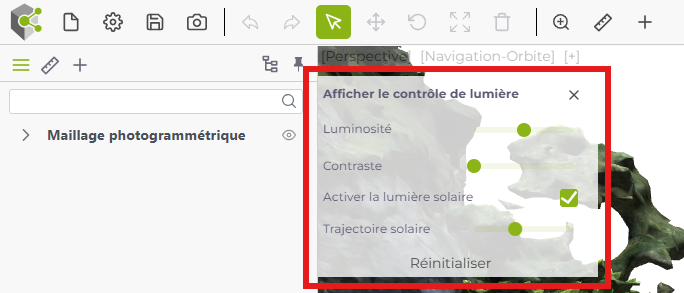
The Light Controls options include:
- Brightness: Adjusts the overall brightness of the scene, allowing you to make the display lighter or darker.
- Contrast: Changes the lighting contrast, enhancing brightness differences to make reliefs more visible.
- Enable Sunlight: Activates a directional light source simulating sunlight, based on the project’s location and coordinate system.
- Sun Path: Allows you to set the time of day, simulating the sun’s position in the sky. Useful for adjusting lighting according to different times of day.
- Reset: Resets all light settings to their default values.
Point Clouds
Automatic Mode: Activates an optimized display mode for point clouds, automatically adjusting parameters for balanced performance.
Quality: Allows you to adjust the display quality of point clouds. Higher quality provides more detail but may impact performance.
Camera
- Field of View: Sets the camera’s field of view angle. A wider field of view provides a more panoramic view, while a narrower field of view offers a more detailed view of objects in the foreground.
Relief Enhancement
Enable: Activates relief enhancement, applying a shading effect to objects to better visualize relief variations and depth in the 3D scene.
Radius: Adjusts the range of the relief enhancement effect. A larger radius affects a broader area around objects, which can enhance the relief effect.
Intensity: Controls the intensity of the relief enhancement effect. Higher intensity makes shadows and relief variations more pronounced, improving depth perception.
Saving the Settings
- Ok Button: Applies the selected settings and closes the window.
- Cancel Button: Discards all changes and closes the window without applying them.