Object Grouping
Object Grouping
Grouping objects in the scene helps structure elements to facilitate the management of their display and interaction. This functionality is especially useful in complex scenes where visual organization is essential.
For a general overview of the free grouping and automatic grouping by type concepts, along with usage examples, please refer to the Scene Tree page.
Accessing Free Grouping
Free grouping is accessible in the default view mode of the scene tree. It allows you to group objects according to project-specific criteria, without constraints on object type.![]()
Creating a Group
To group elements in the scene:
- Select an object in the scene or in the scene tree. For detailed instructions on selecting objects, refer to the Selecting Objects section on the Object Interactions page.
- In the Properties window, locate the “Group” field.
- Enter the name of a new group or choose an existing group from the list.
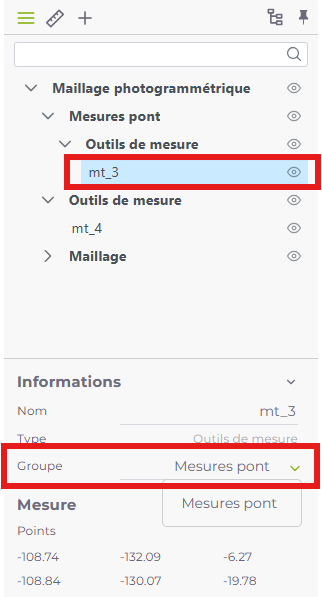
The object will then be associated with the selected group, allowing you to organize objects based on project needs.
Creating Subgroups
You can create subgroups to organize objects hierarchically, with no limit on depth. To create a subgroup:
- Select an existing group in the scene tree.
- In the Properties window, under the “Group” field, enter the name of a new group or choose an existing group.
- The selected group will then become a subgroup of the chosen group.
Ungrouping an Object
To remove an object from a group:
- Select the object to ungroup.
- In the Properties window, locate the “Group” field.
- Clear the value in the “Group” field.
The object will no longer be associated with any group and will be returned to the top level of the scene tree.